This past week has been hectic. Completing classwork for my two admin courses and trying to get the house ready for my father who was coming to town means that I am two days late on my Technology "Thursday".
This week I would like to talk about Adobe Spark Page. I was introduced to this web tool last January at an I Teach Digital Workshop and immediately went back to my classroom and used it with my students. It is a free visual and digital storytelling tool. I had this as one option for my students to publish their biographies.
There are two ways to have students use it. If your students have a Google account then they can sign up with their own accounts using the one click sign-in. If your students do not have a Google account you can sign in with a generic class Google account that all of the students have access to. If you go this route, make sure you have a discussion with your students about only editing their own personal work and not touching other students hard work.
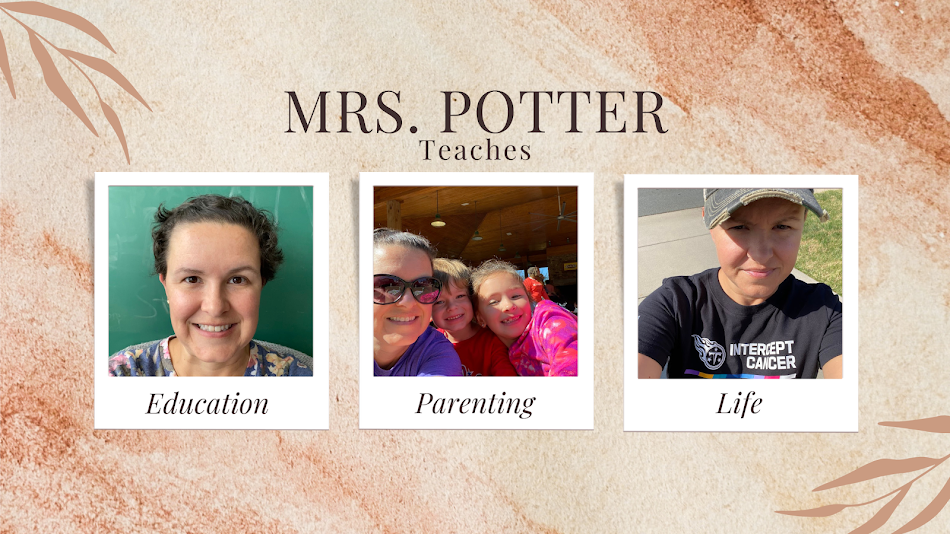
Here is an example of my personal page that I use as a resume: Amber Potter example
Here are some examples from my 5th graders: Biography Final Drafts
**there are some examples using Adobe Spark Video which I will talk about next week
**the link will take you to a Padlet, which I will also talk about another week
Adobe Spark Page was very easy for my students to use. In fact, I only showed them briefly how to log on and a few little editing tips and then let them figure it out on their own. I was pretty impressed with their final products especially considering I just let them explore the web tool on their own and even I was still in the learning phase. There is an app for Adobe Spark Page for tablets and phones, but my students who tried to use it on the iPad struggled with the editing part. We did however, use the iPads to view the finished products in a carousel around the room.
My favorite thing about Adobe Spark Page is the ease of use. There are text boxes already created for your title and subtitle. There is a button for you to click if you want to add a photo behind your title. Next, as you move down the page you will see a little plus sign. Simply click the plus sign and it will give you the options of what you can add next.
The best way to learn is exactly what I did with my students... explore! Play around with adding each of the different options and enjoy!

No comments:
Post a Comment